When using Multi-line Rich Text fields in SharePoint you will notice when using them as data tags in Word they tend to not render correctly. The Reason for this is because the field data will be sent to Microsoft Word as the Style called: “Normal (Web)” which would default to Times New Roman in most cases. This is because Word requires a default way to handle text coming in from various Web sources. Normal (web) is a built-in style to handle such texts. By default, this style is hidden from the user.
If you require your text from the multi-line rich text fields to be returned the same way as your template body then you can use the steps below.
- Open your Microsoft Word and navigate to the Home tab on the Word Ribbon.
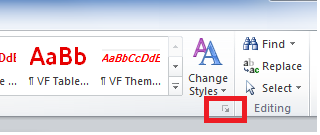
- Notice to the right-hand side of the Word instance there is a bar labelled: “Styles”

- Click on the very small icon which will open the Styles Window.

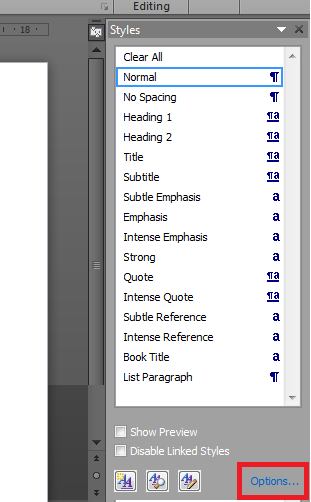
- At the bottom of this pane click on the hyperlink labelled: “Options…”
- In the: “Select styles to show” drop-down menu select “All Styles” and then click OK.

- On the Styles Pane, hover over the Normal (web) style then click on the drop-down menu which then appears.

- Click on “Add to Quick Style Gallery”.
The style has been added to the quick style set currently selected in the document. You cannot see it yet. This is due to the fact that it is set to be hidden until used/applied. To achieve viewing this style you can simply select text and inside the pane click on the Normal (web) style. This will ensure that Normal (web) shows in your quick style set.
- Now expand the quick styles in the top of the Word instance and right-click on the Normal (web) style. Click on the Modify button from the drop-down menu.
- Now you can modify this style to suit your needs.
Comments