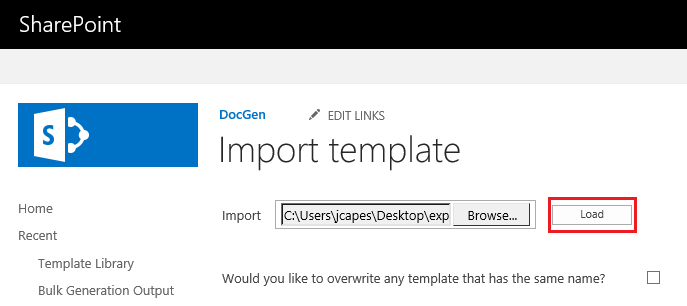
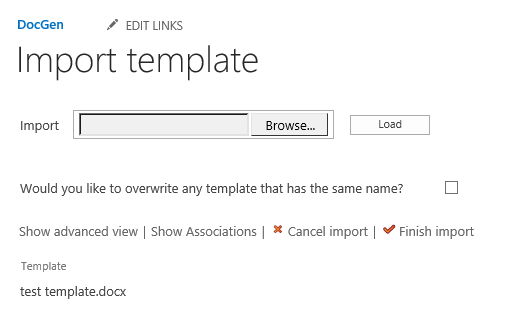
To import a template, navigate to the repository that the template needs to reside inside.
To begin the import, click on the “Documents” toolbar inside the Document library or Template Gallery. The product import option needs to be selected
Importing into a Template Gallery:
Importing into a Library:
- Click “Browse” to search the machine for the exported template file (qde/qse).

- Locate the template file on the machine.

- Click "Load" to import the template.

Note: Should the overwrite checkbox be selected DocGen will overwrite the template and increment the version. If a template with the same name already exists in the SharePoint repository and the "Overwrite" checkbox is not selected during import, DocGeneration will increment the name of the template with numbers in the name. The original template becomes “TemplateName (2)”. Example:

The next few options in the importation tool allow the user to view and update SharePoint references that might be present in the template that is being imported. References refer to DocGeneration functionality that has been linked to a feature, document or template inside the SharePoint environment via URL or GUID and need to be successfully re-linked in the new SharePoint environment.
Note: References may include the following:
- Template Content Section (lives inside SharePoint)
- Document Content Section (lives inside SharePoint)
- SharePoint List (data source in the template)
- SharePoint Document (output location in the template)
Once the template file has been loaded the wizard will provide the user with an array of information and options.

- Show advanced view - displays and allows the updating of all references of every templates has been included in the exported file.
- Show Associations - displays and allows the updating of the associated list of every template that has been included in the exported file.
- Cancel Import - aborts the import and redirects the user back to the repository.
- Finish Import - concludes the import.
Show advanced view
If these templates are being migrated to a new server, all these references displayed here will need to be updated in one way or another by pointing the URL to the new environment's reference, which could be a; list, library, document or template.
Showing advanced options allow the user to change references and change the view on how they view the references.
To change the grouping to view by type, click “Group by types”.
Figure 9: Grouped by template
Figure 10: Grouped by type
A single reference can be changed by clicking on the specific hyperlink.
Click “Ok” to confirm the change.

To change more than one reference at a time:
Click on the “Find and replace” hyperlink.
Type in a the specific changes that need to occur to the URL’s, then click “Ok”

When done making changes to references, click on the “Finish import” hyperlink to complete the importation.
An importation can be cancelled at any time during the process by clicking on the “Cancel Import” button.
Note: When a template gets imported, it gets added to the library checked out to the user, unpublished.
Comments